Your roof is your home’s first line of defense against the elements. When you notice a problem, like a missing or damaged shingle, it’s important to act fast. For homeowners in New York, understanding the basics of shingle roof repair can save you from costly damage down the road. While some minor fixes might seem manageable, it’s often best to consult with professional roof repair experts to ensure the job is done right.
This guide will walk you through the essential aspects of shingle roof repair, helping you understand when to call a professional and what the process involves.
This blog will cover:
- The importance of timely shingle repairs
- Essential tools and materials for the job
- A step-by-step guide to repairing shingles
- How to identify when you need a professional roofer
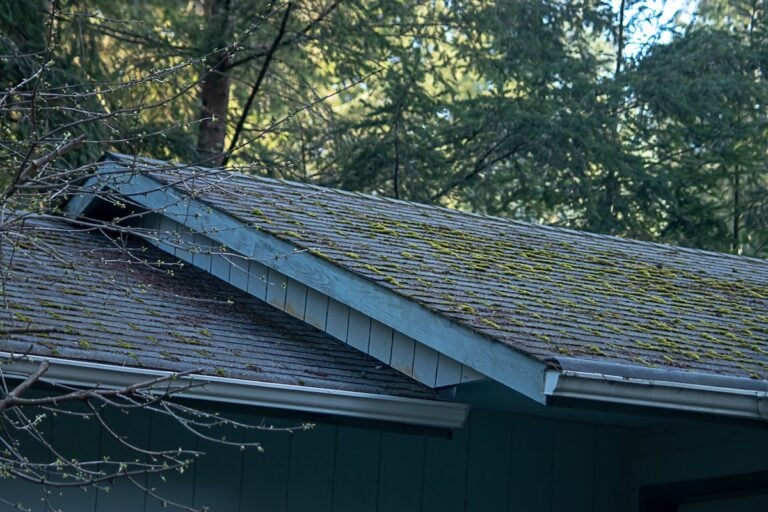
⚠️ Why Timely Shingle Repair Is Important
Ignoring a few damaged shingles might not seem like a big deal, but even small issues can lead to significant problems for your home. Timely repairs are crucial for maintaining the structural integrity and longevity of your roof.
Delaying repairs can result in water leaks, which can damage your attic, ceilings, and walls. This moisture can also lead to mold and mildew growth, posing health risks to your family. Addressing shingle damage promptly protects your home and saves you money on more extensive repairs in the future.
- Prevents Water Damage: Properly sealed shingles keep water out of your home, protecting your insulation, drywall, and structural components.
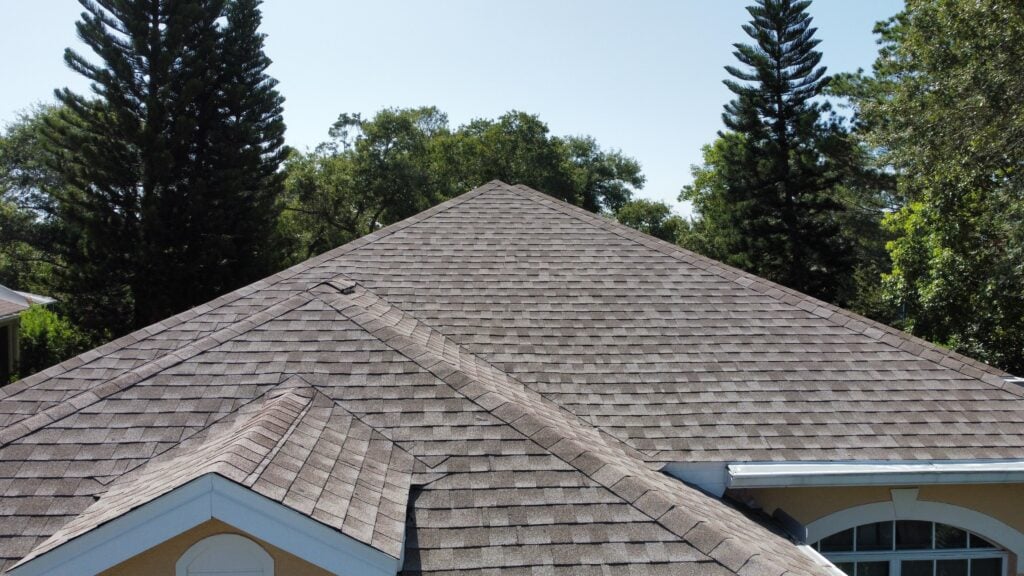
- Maintains Curb Appeal: A well-maintained roof enhances the overall look of your property. Missing or curled shingles can make your home look neglected.
- Extends Roof Lifespan: Regular maintenance and prompt repairs can help your shingle roof last for its full intended lifespan, which is often 20-30 years.
- Saves Money: Fixing a small problem now is much cheaper than dealing with major water damage or a full roof replacement later.
🛠️ 7 Steps for Shingle Roof Repair
Repairing a shingle roof requires careful attention to detail and a focus on safety. While we always recommend professional help for roofing work, understanding the steps involved can give you insight into what the job entails.
Before starting any work, it’s crucial to gather the right tools and materials. This preparation ensures the process is as smooth and safe as possible.
1. Gather Your Tools and Materials
Having everything you need on hand will make the repair process much more efficient. You don’t want to be climbing up and down a ladder for forgotten items.
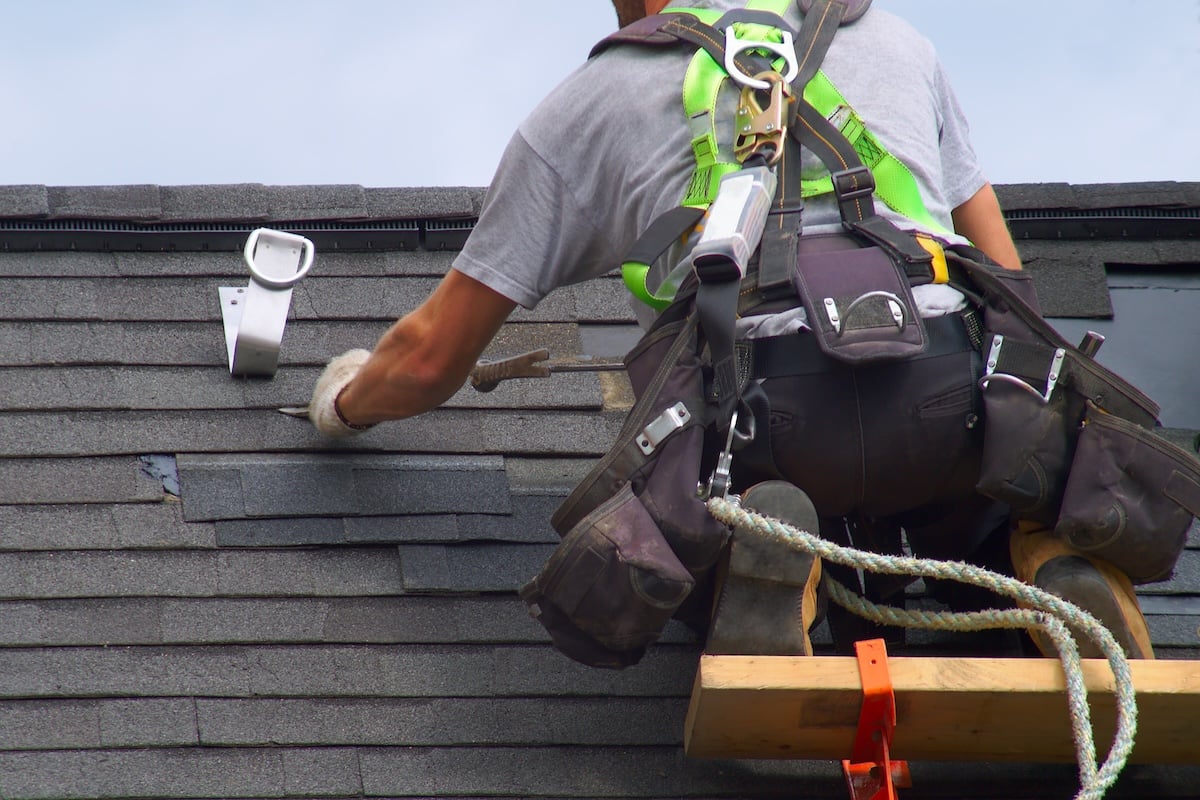
- Safety First: Always use a sturdy, well-placed ladder, wear non-slip shoes, and consider a safety harness, especially for steeper roofs.
- Essential Tools: You’ll need a hammer, pry bar, utility knife, and a caulk gun for this job.
2. Purchase Matching Shingles
Finding shingles that match your existing roof is key to a seamless repair. If you have leftover shingles from the original installation, you’re in luck!
- Finding a Match: If you don’t have extra shingles, take a sample of a damaged one to a local hardware store to find the closest match in color and style.
- Consider Age: Keep in mind that older shingles may have faded from sun exposure, so a perfect match might be difficult.
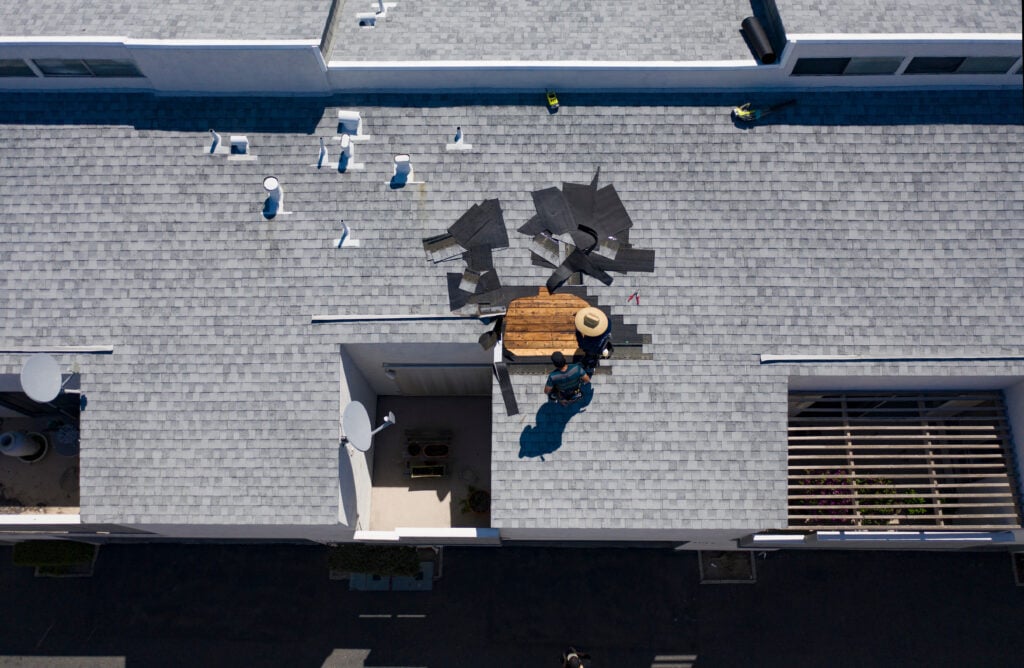
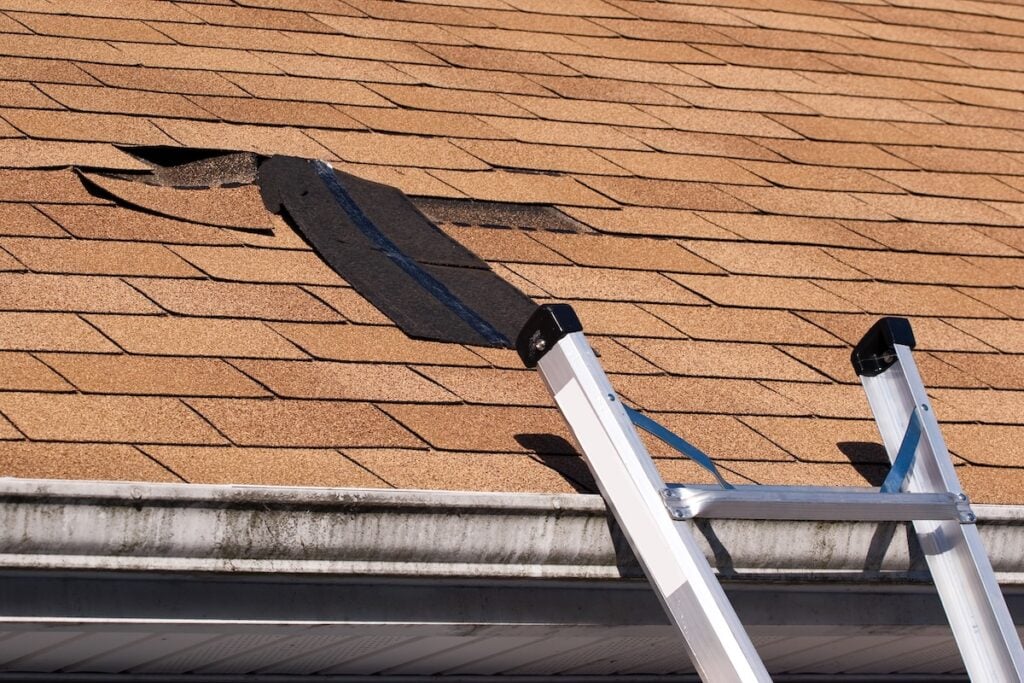
3. Remove the Damaged Shingle
This step requires a bit of gentle force. You need to remove the damaged shingle without causing harm to the surrounding ones.
- Loosen the Seal: Use a pry bar to carefully break the seal of the shingle directly above the one you’re replacing.
- Extract the Nails: Once the seal is broken, you can access and remove the nails holding the damaged shingle in place. There are typically four nails per shingle.
4. Inspect the Underlayment
With the old shingle removed, you have a clear view of the roofing felt or underlayment beneath. This is your chance to check for any hidden damage.
- Look for Tears or Holes: Inspect the underlayment for any signs of water damage, tears, or holes that could compromise your roof’s integrity.
- Make Necessary Repairs: If you find damage, it needs to be patched before you install the new shingle.
5. Install the New Shingle
Now it’s time to put the new shingle in place. Proper placement and nailing are crucial for a secure, watertight fit.
- Slide It In: Slide the new shingle into the position of the old one, aligning it with the shingles on either side.
- Secure with Nails: Use galvanized roofing nails (usually four per shingle) to fasten it. Place the nails just below the sealant strip, ensuring they also go through the top edge of the shingle below.
6. Seal the Shingles Above
To complete the installation, you need to seal the shingle that you lifted earlier. This ensures no moisture can get underneath.
- Apply Roofing Sealant: Apply a dab of roofing sealant under the corners of the overlying shingle tab.
- Press to Secure: Press the shingle down firmly to create a strong, waterproof bond.
7. Clean Up the Area
Once the repair is complete, a thorough cleanup is essential. You don’t want to leave old shingles or nails lying around your yard.
- Remove Debris: Carefully carry all old materials and debris down from the roof.
- Check for Stray Nails: Use a magnetic sweeper to go over your lawn and driveway to pick up any dropped nails, protecting your family and your tires.
🤔 When to Call a Professional
DIY repairs can be tempting, but roofing work comes with significant risks. Knowing when to step back and call in the experts is vital for your safety and the quality of the repair.
If you’re not comfortable with heights or lack the proper safety equipment, it’s always best to leave the work to a trained professional.
Here are some signs that indicate you need to call a professional roofing contractor:
- Widespread Damage: If more than a few shingles are damaged, or if you see issues across multiple areas of your roof, it could signal a larger problem.
- Signs of Leaks Inside: Water stains on your ceiling or walls are a clear indication that you have a leak that needs immediate professional attention.
- Curling or Buckling Shingles: Shingles that are curling at the edges or buckling in the middle are often a sign of an aging roof that may need replacement.
- Granules in Gutters: Finding a large amount of shingle granules in your gutters means your shingles are deteriorating and losing their protective layer.
- Your Roof is Old: If your shingle roof is approaching the 20-year mark, it’s a good idea to have it professionally inspected, even if you don’t see obvious damage.
✅ Your Trusted Partner for Roof Repairs
Proper shingle roof repair is essential for protecting your home from the elements and maintaining its value. While minor fixes might be within reach for a handy homeowner, most roofing issues are best left to the professionals at Kornerstone Roofing. Our experienced team has the tools, training, and safety equipment to get the job done right, ensuring your roof is secure and leak-free for years to come.
Don’t wait for a small issue to become a major headache. If you’ve noticed damaged shingles or are concerned about the state of your roof, contact us today for a free estimate!