Are you a homeowner looking to enhance the durability and aesthetics of your roof? Installing ridge cap shingles is a crucial step in ensuring your roof not only looks great but also provides the necessary protection against harsh weather conditions. In this comprehensive guide, we’ll walk you through the process of installing ridge cap shingles, offering expert tips and practical advice along the way, including:
- Understanding Ridge Cap Shingles
- Importance of Ridge Cap Shingles
- Tools and Materials Needed
- Preparing Your Roof
- How to Install Ridge Cap Shingles in 9 Steps
- Common Mistakes to Avoid
- Maintenance Tips for Ridge Cap Shingles
- Benefits of Professional Installation
- Ridge Cap Shingles vs. Regular Shingles
- Choosing the Right Ridge Cap Shingles
- FAQs
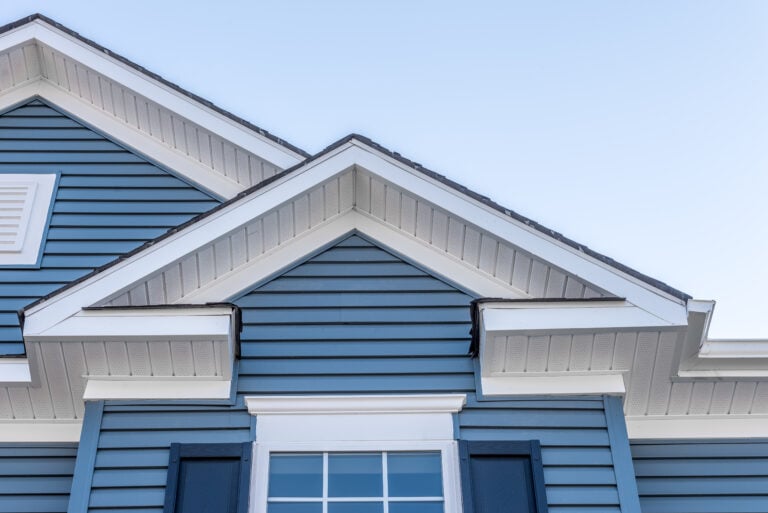
🤔 Understanding Ridge Cap Shingles

Ridge cap shingles are specially designed shingles that cover the ridge of a roof. They provide a finished look and protect against leaks. Unlike regular shingles, ridge cap shingles are more flexible, allowing them to bend and conform to the shape of the roof ridge.
Why Are They Essential?
Ridge cap shingles play a vital role in maintaining the structural integrity of your roof. They cover the highest point where two roof planes meet, preventing water from seeping in and causing damage. Additionally, they enhance the overall aesthetic appeal of your home.
Different Types of Ridge Cap Shingles
There are several types of ridge cap shingles available, including asphalt, wood, metal, and composite. Each type has its unique advantages and is suitable for different roofing materials.
❗️ Importance of Ridge Cap Shingles
Ridge cap shingles are not just decorative; they are functional components that contribute to the longevity of your roof. They offer added protection and ensure that your roof performs optimally.
Enhancing Roof Durability
By covering the ridge, these shingles prevent wind and rain from penetrating the roof, reducing the risk of leaks and water damage. This added layer of protection can extend the life of your roof significantly.
Improving Aesthetic Appeal
A well-installed ridge cap adds a finished look to your roofline, enhancing your home’s curb appeal. With various styles and colors available, you can choose ridge cap shingles that complement your roof’s design.
Increasing Home Value
Investing in quality ridge cap shingles can increase your home’s value. Potential buyers will appreciate the attention to detail and the added protection these shingles provide.
🧰 Tools and Materials Needed
Before you start installing ridge cap shingles, gather all the necessary tools and materials. This will make the installation process smoother and more efficient.
Essential Tools
- Hammer or roofing nail gun
- Utility knife
- Chalk line
- Measuring tape
- Ladder
- Safety harness
Required Materials
- Ridge cap shingles
- Roofing nails
- Roofing cement
- Underlayment (if needed)
Safety Gear
Always prioritize safety when working on your roof. Wear non-slip shoes, gloves, and a safety harness to prevent accidents.
🏠 Preparing Your Roof
Proper preparation is key to a successful installation. Follow these steps to ensure your roof is ready for ridge cap shingles.
Inspect the Roof
Before you begin, inspect your roof for any damage or loose shingles. Repair any issues to create a stable base for the ridge cap shingles.
Clean the Ridge Area
Remove any debris, dirt, or old roofing material from the ridge area. A clean surface will ensure better adhesion and a secure fit for the shingles.
Measure and Mark
Use a chalk line to mark the center of the ridge. This will help you align the shingles correctly and achieve a straight, even installation.
🛠️ How to Install Ridge Cap Shingles in 9 Steps

Installing ridge cap shingles may seem daunting, but with the right approach, you can achieve professional results. Follow these nine steps for a successful installation.
1. Lay the Underlayment
Begin by laying an underlayment along the ridge, which serves as an essential barrier against moisture. Choose a high-quality underlayment that is specifically designed for roofing applications to ensure durability. This extra layer of protection helps prevent moisture from seeping through the shingles and causing damage to the roof deck underneath. Make sure to overlap the underlayment seams by at least six inches for optimal protection and secure it in place using roofing staples or nails.
2. Position the First Shingle
Carefully position the first ridge cap shingle at one end of the ridge. It’s important that this shingle overhangs the edge slightly to allow for effective water runoff and prevent leaks. Ensure that the shingle is straight and level before securing it with roofing nails. Use at least four nails to anchor it in place, driving the nails through the thickest part of the shingle, which provides a stronger hold against wind and weather conditions.
3. Overlap the Shingles
As you continue placing shingles along the ridge, overlap each one by half an inch. This overlap is crucial because it creates a barrier that allows water to run off smoothly rather than pooling or seeping underneath the shingles. Take care to align the shingles properly, maintaining a consistent overhang for an aesthetically pleasing finish. This technique not only enhances the roof’s functionality but also contributes to its overall appearance.
4. Secure with Nails
To ensure each shingle stays in place, use roofing nails to secure them firmly. Aim to drive the nails through the thickest part of each shingle, as this ensures a reliable and strong hold. Use at least four nails per shingle, and space them evenly to distribute the pressure. It’s important to avoid over-driving the nails, as this can damage the shingles and compromise their effectiveness against the elements.
5. Bend and Fit Shingles
If your ridge features a steep angle, you may need to bend the shingles to fit them properly. Take your time with this step, as bending the shingles requires care to avoid cracking or damaging them. Gently apply pressure to shape the shingles to the angle of the ridge, and if necessary, warm the shingles slightly with a heat gun to make them more pliable. A proper fit is crucial for maintaining the roof’s integrity and ensuring effective water runoff.
6. Apply Roofing Cement
For added security and longevity, apply roofing cement underneath each shingle before nailing it down. This adhesive acts as a sealant, creating a watertight bond that helps keep the shingles in place during high winds or severe weather. Use a caulking gun to apply a generous bead of roofing cement along the ridge before laying the shingle on top, then press down firmly to ensure proper adhesion. This extra layer of protection will enhance the durability of your roofing system.
7. Ensure Proper Ventilation
If you’re installing shingles over a vented ridge, it’s vital to make sure that the shingles do not obstruct airflow. Proper ventilation is essential for preventing moisture buildup in the attic, which can lead to mold growth and structural damage. Ensure that the vents are clear and that the shingles are positioned in a way that allows free airflow. This consideration is an important aspect of maintaining the long-term health of your roof and home.
8. Trim Excess Material
Once all the shingles are installed, use a utility knife to trim any excess material for a neat and tidy finish. Carefully cut away any overhanging or uneven edges, taking care not to damage the shingles or the underlying structure. A clean edge not only enhances the appearance of your roof but also prevents potential snagging or wear from wind and debris. This step contributes to the overall professionalism of your installation.
9. Inspect Your Work
Finally, conduct a thorough inspection of the entire ridge to ensure that all shingles are securely fastened and properly aligned. Look for any signs of misalignment, loose shingles, or areas where the roofing cement may not have adhered correctly. Make any necessary adjustments to ensure a perfect fit and secure installation. Taking the time to inspect your work will help prevent future issues and ensure the longevity and effectiveness of your roof.
🚫 Common Mistakes to Avoid
Even with the best intentions, mistakes can happen. Here are some common pitfalls to watch out for during the installation process.
Incorrect Overlapping
Failing to overlap shingles correctly can lead to water penetration and leaks. Always ensure each shingle overlaps the previous one by at least half an inch.
Using Insufficient Nails
Using too few nails can result in loose shingles that may blow off during strong winds. Secure each shingle with at least four nails.
Neglecting Safety Measures
Roofing can be dangerous, so never neglect safety precautions. Always wear proper safety gear and use a harness when working on a steep roof.
💡 Maintenance Tips for Ridge Cap Shingles
Regular maintenance can extend the life of your ridge cap shingles and keep your roof in top condition. Here are some tips to help you maintain your shingles.
Regular Inspections
Conduct regular inspections to check for any signs of wear or damage. Address any issues promptly to prevent further deterioration.
Clean Debris
Keep the ridge area clean and free from debris. Accumulated dirt and leaves can trap moisture and cause damage to the shingles.
Apply Protective Coatings
Consider applying protective coatings to enhance the durability of your ridge cap shingles. These coatings can provide additional resistance to weathering.
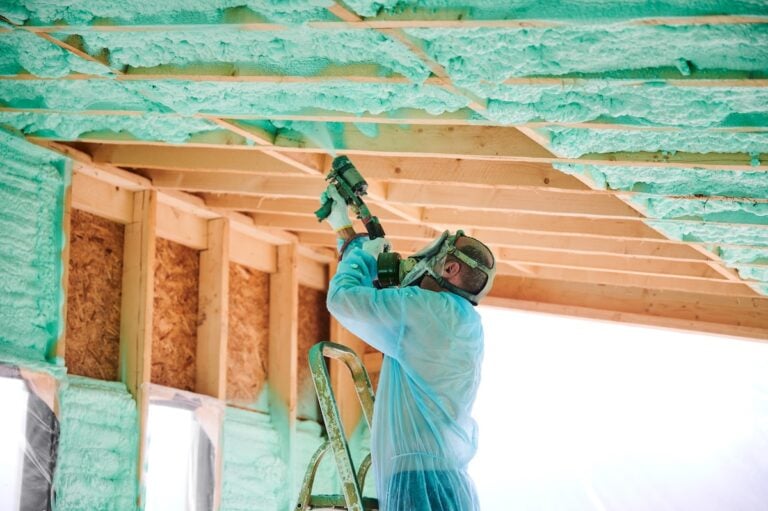
✅ Benefits of Professional Installation
While DIY installation can be rewarding, there are significant benefits to hiring professionals for the job. Here’s why you might consider professional installation.
- Expertise and Experience: Professional roofers have the expertise and experience to install ridge cap shingles correctly and efficiently. They can handle any challenges that arise during the process.
- Quality Assurance: Hiring professionals ensures that the installation meets industry standards. This quality assurance can give you peace of mind knowing your roof is in good hands.
- Time and Convenience: Installing ridge cap shingles can be time-consuming. Professionals can complete the job quickly and efficiently, saving you time and effort.
🏘️ Ridge Cap Shingles vs. Regular Shingles
Understanding the differences between ridge cap shingles and regular shingles can help you make informed decisions about your roofing needs.
Design and Flexibility
Ridge cap shingles are specifically designed to flex and fit over the ridge of your roof. Regular shingles lack this flexibility and may not provide the same level of protection.
Installation Process
The installation process for ridge cap shingles is different from regular shingles. Ridge caps require precise placement and overlapping to ensure optimal performance.
Cost Considerations
While ridge cap shingles may be slightly more expensive than regular shingles, their benefits far outweigh the cost. Investing in ridge caps can save you money in the long run by preventing costly repairs.
👇 Choosing the Right Ridge Cap Shingles
Selecting the right ridge cap shingles for your roof involves considering several factors. Here’s what to keep in mind when making your choice.
- Material and Durability: Choose shingles made from durable materials that can withstand harsh weather conditions. Asphalt, metal, and composite shingles are popular options.
- Color and Style: Consider the color and style of the shingles to ensure they complement your roof and home’s exterior. Many manufacturers offer a variety of colors and designs to choose from.
- Manufacturer Warranty: Check for manufacturer warranties when selecting ridge cap shingles. A good warranty can provide added protection and peace of mind.
❓ Frequently Asked Questions

It’s natural to have questions about ridge cap shingles. Here are some common questions and answers to help you understand more.
Q: How Long Do Ridge Cap Shingles Last?
Ridge cap shingles can last anywhere from 15 to 30 years, depending on the material and environmental factors. Regular maintenance can extend their lifespan.
Q: Can I Install Ridge Cap Shingles Myself?
While it’s possible to install ridge cap shingles yourself, hiring a professional is recommended for the best results. Professionals have the expertise and tools needed for a flawless installation.
Q: Are Ridge Cap Shingles Necessary?
Yes, ridge cap shingles are necessary for protecting the ridge of your roof from water infiltration and wind damage. They also provide a finished look to your roofline.
🙌 Trust Kornerstone Roofing for Quality Service
Installing ridge cap shingles is a crucial step in ensuring your roof’s longevity and aesthetic appeal. By following the steps outlined in this guide, you can achieve a professional-quality installation and enjoy the benefits of a well-protected roof.
At Kornerstone Roofing, we take pride in delivering top-notch roofing services to homeowners like you. Our team of experienced professionals is dedicated to providing quality workmanship and exceptional customer service. Whether you need installation, maintenance, or repairs, you can trust us to handle all your roofing needs with care and expertise.
Ready to enhance your roof with ridge cap shingles? Contact Kornerstone Roofing today and experience the difference of working with a trusted roofing partner. Your satisfaction is our top priority, and we look forward to helping you achieve a beautiful, durable roof.