Proper insulation is one of the most important investments you can make in your home’s energy efficiency and comfort. DIY spray foam insulation offers homeowners an effective way to seal air gaps and improve thermal performance throughout their property. This comprehensive guide provides you with the knowledge and confidence to tackle your own spray foam insulation project while understanding when it’s best to call professional roofing contractors for more complex applications.
Whether you’re looking to reduce energy bills, improve indoor air quality, or enhance your home’s overall comfort, understanding the basics of spray foam insulation will help you make informed decisions for your next home improvement project.
This blog will cover:
- Why proper insulation matters for your home’s efficiency
- Step-by-step instructions for DIY spray foam application
- Essential safety considerations and best practices
- When to consider professional installation services
- Cost-saving tips and common mistakes to avoid
🏠 Why DIY Spray Foam Insulation Stands Out
Spray foam insulation stands out as one of the most effective insulation materials available to homeowners today. Unlike traditional fiberglass or cellulose insulation, spray foam expands to fill gaps and creates an airtight seal that prevents energy loss year-round.
The importance of quality insulation extends beyond just keeping your home comfortable. Poor insulation can lead to significant energy waste, higher utility bills, and even structural issues over time.
Key benefits of spray foam insulation include:
- Superior air sealing capabilities that eliminate drafts and air leaks
- Higher R-value per inch compared to traditional insulation materials
- Moisture barrier properties that help prevent mold and mildew growth
- Long-lasting performance with minimal settling or degradation over time
- Improved indoor air quality by reducing allergen infiltration
- Potential energy savings of 20-50% on heating and cooling costs
🔧 7-Step DIY Spray Foam Insulation Guide For Homeowners
Taking on a spray foam insulation project requires careful planning and attention to detail. This step-by-step process will help you achieve professional-quality results while maintaining safety throughout your project.
1. Assess Your Insulation Needs and Plan Your Project
Start by conducting a thorough evaluation of your home’s current insulation situation. Walk through your property and identify areas where you feel drafts, notice temperature variations, or see visible gaps around windows, doors, or penetrations.
- Use a thermal imaging camera or simple hand test to locate air leaks
- Measure the areas you plan to insulate to calculate material needs
- Check local building codes for insulation requirements in your area
2. Gather Essential Tools and Materials
Proper preparation is crucial for a successful DIY spray foam insulation project. Having all necessary tools and materials on hand before you begin will ensure a smooth installation process.
- Purchase appropriate spray foam kits based on your square footage needs
- Obtain safety equipment including respirator, goggles, and protective clothing
- Gather basic tools like utility knife, measuring tape, and drop cloths
3. Prepare the Work Area for Safe Installation
Creating a safe and controlled work environment protects both you and your property during the installation process. Take time to properly prepare your workspace before opening any spray foam containers.
- Remove or cover furniture and belongings in the work area
- Ensure adequate ventilation by opening windows or using exhaust fans
- Clear debris and dust from surfaces where foam will be applied
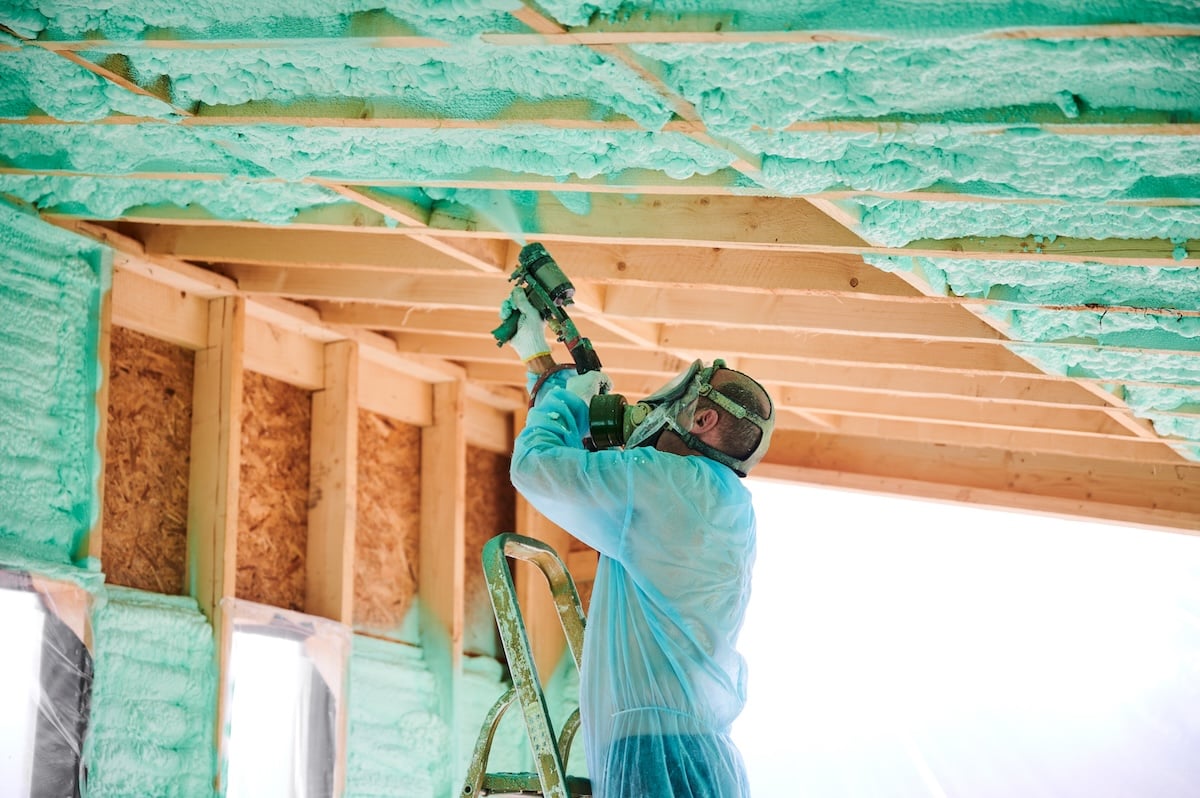
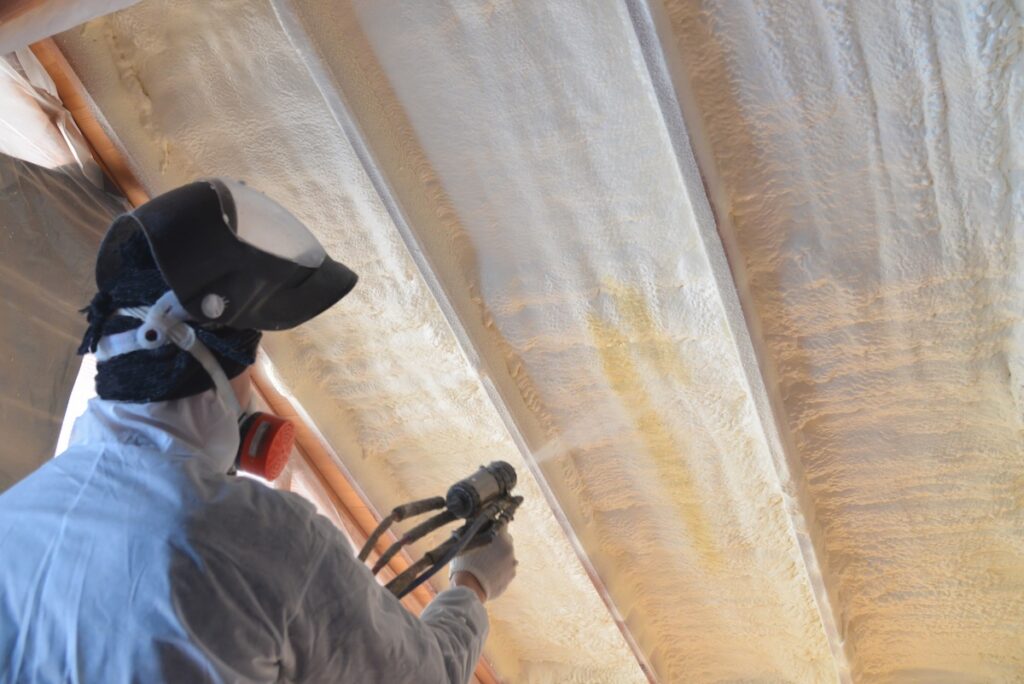
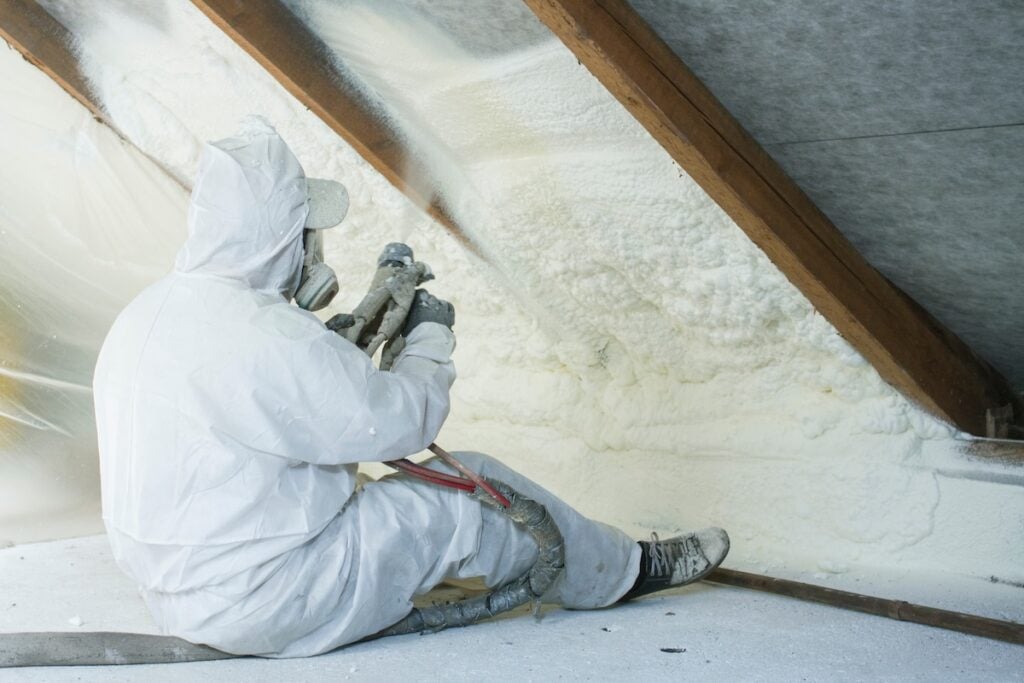
4. Apply Spray Foam Using Proper Technique
The actual application of spray foam requires steady hands and consistent technique to achieve optimal results. Work methodically and avoid rushing through this critical step.
- Shake foam containers thoroughly according to manufacturer instructions
- Apply foam in thin, even layers rather than thick single applications
- Work from bottom to top to prevent foam from dripping onto finished areas
5. Trim and Shape Cured Foam
Once your spray foam has fully cured (typically 24-48 hours), you’ll need to trim excess material and shape the insulation for a professional appearance.
- Use a sharp utility knife or foam saw to trim excess material
- Sand rough edges smooth for a clean finish
- Ensure foam doesn’t interfere with electrical outlets or other fixtures
6. Inspect Your Work and Address Any Gaps
A thorough inspection ensures your insulation project delivers maximum energy efficiency benefits. Take time to examine your work carefully and make any necessary touch-ups.
- Check for thin spots or areas where foam didn’t adhere properly
- Apply additional foam to any missed gaps or cracks
- Verify that foam hasn’t blocked important ventilation pathways
7. Clean Up and Dispose of Materials Properly
Completing your project responsibly includes proper cleanup and disposal of materials. This final step ensures your home is ready for normal use.
- Dispose of empty foam containers according to local regulations
- Clean tools immediately with appropriate solvents before foam hardens
- Remove protective coverings and restore your work area to normal condition
⚠️ Safety Considerations and Best Practices
Safety should always be your top priority when working with spray foam insulation materials. These products contain chemicals that require proper handling and protective equipment to use safely.
Personal Protective Equipment Requirements
Never attempt spray foam installation without proper safety gear. The chemicals in spray foam can cause serious health issues if you’re exposed without protection.
- Respiratory Protection: Use a full-face respirator with appropriate cartridges
- Eye Protection: Wear safety goggles or face shield to prevent chemical contact
- Skin Protection: Cover all exposed skin with disposable coveralls and gloves
Ventilation and Air Quality Management
Proper ventilation is essential during and after spray foam application. Poor air circulation can lead to dangerous chemical exposure and extended curing times.
- Active Ventilation: Use exhaust fans to remove fumes from work areas
- Cross Ventilation: Open windows on opposite sides of the work area when possible
- Extended Ventilation: Continue ventilation for 24-48 hours after application
Temperature and Humidity Considerations
Environmental conditions significantly impact spray foam performance and safety. Monitor weather conditions and indoor climate before beginning your project.
- Optimal Temperature Range: Apply foam when temperatures are between 60-85°F
- Humidity Control: Avoid application during periods of high humidity
- Weather Monitoring: Plan projects during stable weather conditions
🎯 Ready to Improve Your Home’s Efficiency?
DIY spray foam insulation can be an effective way to improve your home’s energy efficiency and comfort when done properly. Following the steps outlined in this guide will help you achieve professional-quality results while maintaining safety throughout your project.
Remember that while many homeowners can successfully complete basic spray foam insulation projects, complex applications around roofing systems, structural elements, or large areas may require professional expertise. If you’re unsure about any aspect of your insulation project or need assistance with related roofing work, don’t hesitate to reach out to experienced professionals.
Ready to start your insulation project? Contact Kornerstone Roofing today for expert advice on insulation solutions and professional installation services. Our experienced team can help you determine the best approach for your specific needs and ensure your project delivers maximum energy efficiency benefits.