Proper attic ventilation is a key for your roof, but often overlooked, component of maintaining a healthy and efficient home. Whether you’re looking to upgrade your current system or install a new one, understanding the value of attic vents is essential for every homeowner. From energy efficiency to preventing costly damage, attic vents offer several benefits when installed correctly. This guide covers everything you need to know, including:
- What is an attic vent?
- Benefits of attic vents
- How to install attic vents
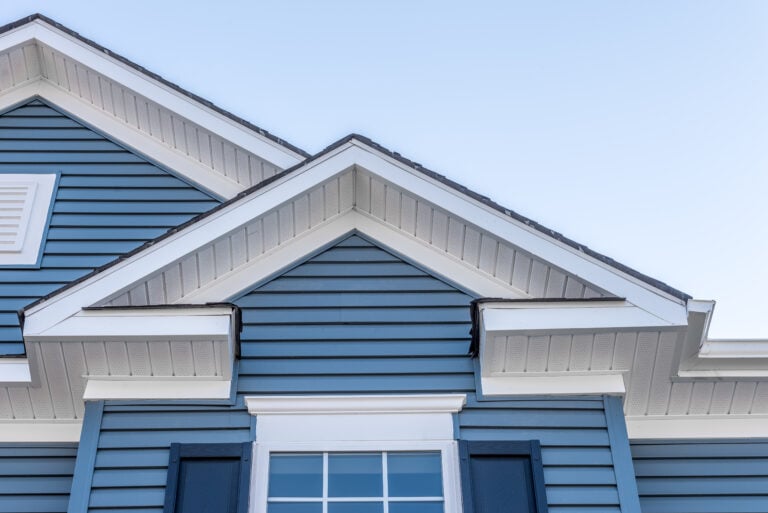
🤔 What is an Attic Vent?

An attic vent is a system that allows air to flow through your attic space, promoting ventilation and airflow. These vents help regulate temperature, reduce moisture buildup, and prevent issues like mold and ice damming. Attic vents are a crucial element in protecting your home from damage and keeping your attic dry and well-regulated.
Typically, an attic ventilation system includes two components:
Intake Vents: Positioned at the lower portion of the roof, usually in soffits, to draw cool, fresh air in.
Exhaust Vents: Located at the higher points of the roof, like the ridge or gables, to push warm, moist air out.
Types of Attic Vents
When it comes to attic vents, there are several types to choose from depending on your home’s design and needs.
- Ridge Vents: Installed along the roof peak to provide continuous airflow; often paired with soffit vents for balance.
- Gable Vents: Located on attic exterior walls near the roof peak; known for affordability and easy installation.
- Box Vents: Also called static vents, installed near the roof’s highest points to release heat and moisture.
- Turbine Vents: Also known as whirlybird vents; spin with the wind to actively remove warm air, ideal for breezy areas.
- Powered Attic Vents: Use electric or solar power to improve ventilation, suited for larger homes or areas with stagnant airflow.
👉 5 Benefits of Attic Vents

Attic vents provide numerous advantages that enhance your home’s longevity, energy efficiency, and overall comfort. Here are the top benefits of adding attic vents to your home.
1. Temperature Regulation
Proper attic ventilation plays a key role in managing your home’s temperature throughout the year. In the summer, vents help release trapped heat from the attic, preventing it from building up and radiating into your living spaces. This keeps your home cooler and more comfortable during hot months. In the winter, attic vents work to prevent cold moisture from accumulating, which can lead to dampness and discomfort. With effective temperature regulation, your home stays comfortable year-round, regardless of the season.
2. Energy Efficiency
When your attic is properly ventilated, it reduces the strain on your HVAC systems. By allowing heat to escape in the summer and preventing cold air from creating uneven temperatures in the winter, attic vents help your heating and cooling systems work more efficiently. This translates to lower energy bills, as your air conditioner and heater won’t need to work as hard to maintain a consistent temperature. Over time, this energy efficiency adds up to significant cost savings and a reduced environmental footprint.
3. Moisture Management
Excess moisture in your attic can lead to a host of problems, including mold growth, rotting wood, and damaged insulation. These issues not only compromise the structural integrity of your home but can also result in costly repairs. Attic vents help control humidity levels, allowing moist air to escape before it causes damage. By keeping moisture in check, you can prevent the conditions that lead to mold and mildew, protecting both your home and your indoor air quality.
4. Extended Roof Life
Heat and moisture trapped in an unventilated attic can cause serious damage to your roof over time. Excessive heat can warp shingles, while moisture can lead to rotting wood and other structural issues. These problems not only require expensive repairs but can also shorten the life span of your roof. Attic vents help eliminate these risks by maintaining a stable environment in your attic, extending the life of your roof and reducing the need for costly maintenance or replacement.
5. Ice Dam Prevention
In colder climates, ice dams can be a significant issue during the winter months. These occur when heat from your attic causes snow on your roof to melt, only for the water to refreeze at the edges, creating dams of ice. These dams can block proper drainage and lead to leaks, which can cause water damage to your home’s interior. With effective attic ventilation, heat escapes from the attic, keeping your roof’s surface temperature more consistent and preventing the formation of ice dams. This proactive measure helps protect your home from leaks and water damage, ensuring your roof stays intact.
🛠️ How to Install Attic Vents

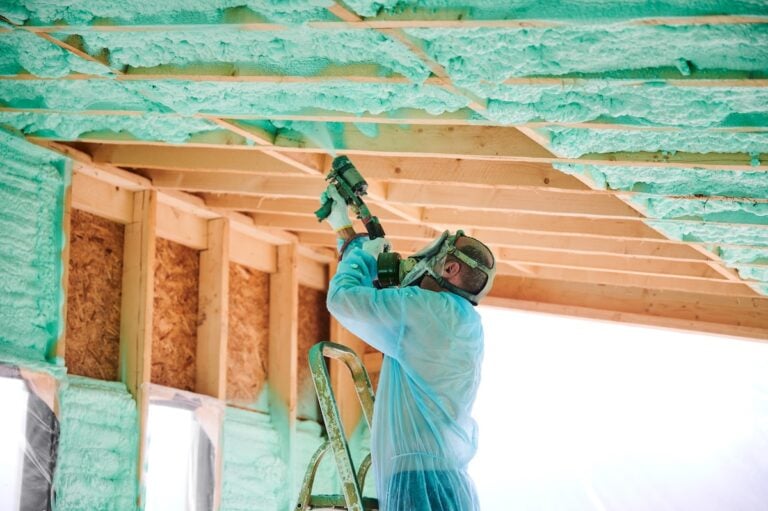
Installing attic vents is an important step in maintaining proper ventilation and ensuring your attic remains efficient and free from issues like heat buildup or moisture. Careful planning and execution are key to achieving maximum efficiency. Here’s a detailed guide to help you through the process.
Step 1: Assess Your Attic
The first step in installing attic vents is to thoroughly assess your attic. Begin by inspecting your current ventilation system, if one exists. Look for any signs of issues such as excessive heat buildup, condensation, or insufficient airflow. These are common indicators that your attic’s ventilation may not be adequate. Next, measure the total square footage of your attic. This is a critical step because the amount of ventilation your attic requires will depend on its size. Knowing the square footage will help you calculate the ventilation needs accurately.
Step 2: Calculate Ventilation Needs
Once you’ve assessed your attic space, it’s time to determine how much ventilation is required. The general rule of thumb is to provide 1 square foot of ventilation for every 150 square feet of attic space. This ensures that there is enough airflow to properly ventilate the area. It’s important to balance the ventilation between intake vents, which bring in fresh air, and exhaust vents, which expel warm, stale air. Proper balance between these two types of vents is crucial for a well-functioning ventilation system, as it allows air to circulate effectively.
Step 3: Select the Right Vent Type
Choosing the correct type of attic vents for your home is critical to ensuring the ventilation system works well. There are various vent types available, and the best choice will depend on your home’s structure and your ventilation needs. For larger homes, powered vents or ridge vents are often ideal, as they can handle greater airflow demands. For smaller spaces, static vents or gable vents may be sufficient and can provide effective ventilation without requiring additional power. Take the time to research and select the vents that best match your attic’s requirements.
Step 4: Install Intake and Exhaust Vents
With the right vents selected, it’s time to proceed with the installation. Start by focusing on the intake vents. These are typically installed along the eaves of your roof and are responsible for drawing fresh air into the attic. Proper placement is important to ensure an even distribution of airflow. Next, move on to the exhaust vents. These are placed either along the roof’s ridge or on the gables and are designed to expel warm air from the attic. When installing vents, it’s essential to follow the manufacturer’s instructions and ensure they are securely fitted. This will help maximize their performance and longevity.
Step 5: Inspect and Maintain
Once your attic vents are installed, the job doesn’t end there. Regular inspection and maintenance are necessary to keep the ventilation system working efficiently. Periodically check the vents for any blockages, such as dirt, debris, or even nests that could obstruct airflow. Clean the vents as needed to ensure they remain clear and functional. Consistent upkeep will not only extend the life of your vents but also keep your attic properly ventilated, preventing future issues such as moisture damage or heat buildup.
✅ Attic Ventilation Guide
When it comes to ensuring your home’s attic ventilation is done right, Kornerstone Roofing is the team you can trust. With years of experience, a family-owned dedication to quality, and customized solutions tailored to your home, we’re committed to improving your home’s efficiency and longevity.
Don’t leave your roofing needs to chance—let our experts handle it with care and precision. Contact Kornerstone Roofing today for a consultation and take the first step toward a healthier, more efficient home!